We see a direct correlation between quality of photos and the number of rentals. Improve your photos, get more cash!
A home can have the most beautiful property description ever written, and interested renters will still ask for photos. We know taking property photos can seem daunting, so we curated these five tips to help you through the process. Follow these and your beautiful home will stand out from the rest.
1. Stage Your Home
Prepare your home for photos as you would prepare it for renters. Here are some last minute items you don't want to forget:
- Remove all clutter, including but not limited to electronics, newspapers, mail, and excess kitchen appliances.
- Turn off televisions and computer screens.
- In the bathroom, make sure you have a full roll of toilet paper, the shower curtain is closed, and the toilet seat is down. Clear the counter of any personal toiletries.
- Make all the beds and close all closet doors and drawers.
- If you are taking pictures of a patio or deck, remove any and all furniture, grill, hot tub, and pool coverings.
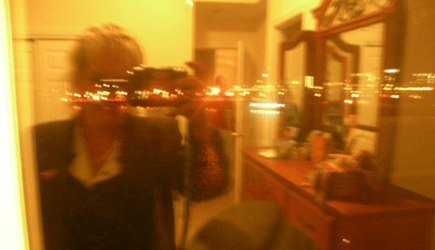
- Ensure you, your family members, and/or your pets are not visible in any of the photos (watch out for mirrors!).
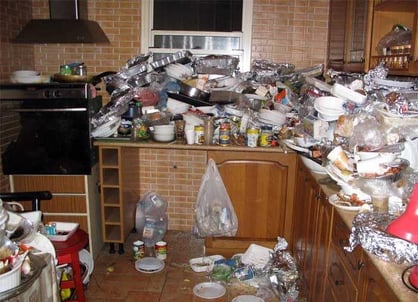 Yikes! Looks like the trash man forgot to come this week.
2. Pick the Best Time of Day to Photograph
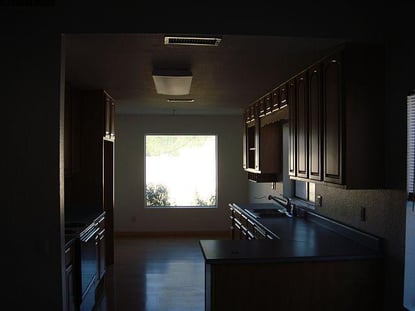
Exterior shots are best taken on overcast days, when the cloudy coverage will prevent harsh shadows on your home. Interior photographs are best taken before 4:00 pm, when it is bright enough to light everything in the room. Lift and remove the shades and blinds on all your windows, and try photographing using natural light only. If the photos look a little dark, turn on the lights. Use the flash on your camera only as a last resort; it can highlight odd parts of the room and distort coloring.
When you don't photograph during the best time of day, you are forced to improvise with the home's lighting.
3. Walk Around the Room
In each room, try taking a photo straight on, from the doorway, and from the corner of the room to find what angle makes your room look best. Wherever you take your photos, make them as straight and as level as possible. Position yourself so the natural light is behind you and shining on the room. Facing the light makes the rest of the room look dark.
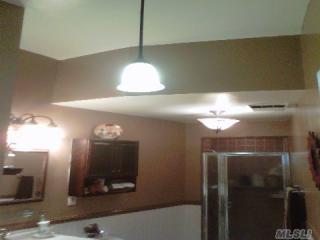 Instead of showcasing the shower and sink, this photo focuses on the ceiling and light fixtures.
 If your pictures came out in weird colors (if everything has a blue tint, for example) or if they are blurry, it is worth taking some time out of your schedule to plan a day to retake them. Once you pick your favorites, the ones that are the best representation of your home, upload them to the site! We have found that having around 10 photos is ideal for attracting potential renters.
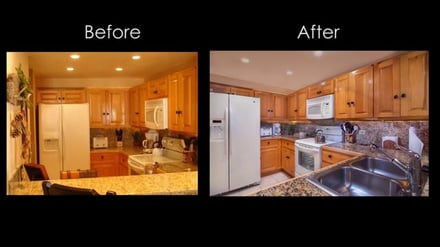 A few simple changes can make a big difference in a property photo!
Congratulations!
You now have a beautiful new set of photos to go along with your property description.